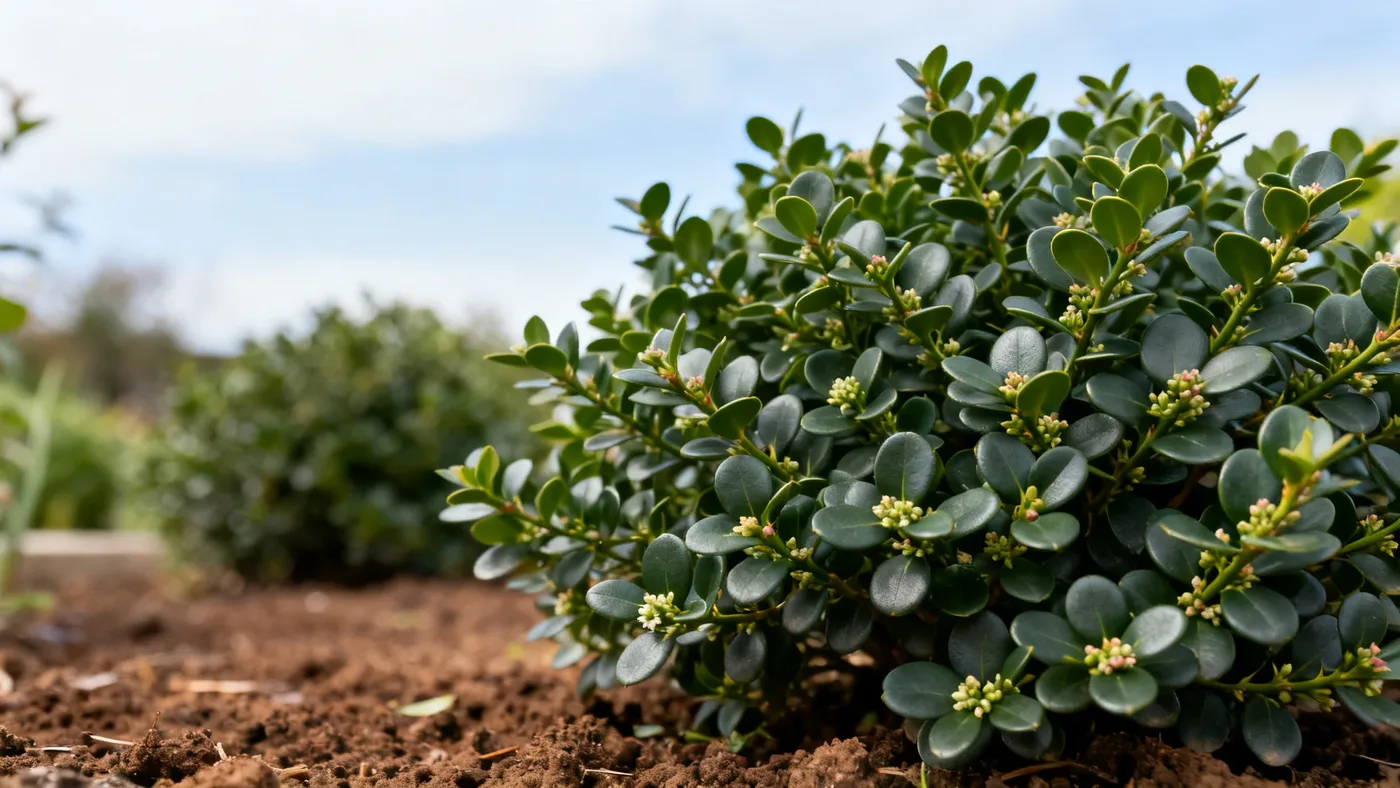
Best Soil for Soft Touch Japanese Holly to Thrive
Soft Touch Japanese Holly grows into a naturally mounded 2 to 3 feet tall and 3 to 4 feet wide, but only when its soil is right. Most problems that slow or stunt this evergreen shrub trace back to drainage, pH, or missing organic matter. Get the foundation correct at planting, and your holly will spend decades filling its intended space instead of languishing in the wrong conditions.
Understanding Soil Requirements for Soft Touch Holly
Soft Touch Japanese Holly is not fussy, but it does have clear preferences. The plant needs three things from its soil: acidity in the right range, moisture without waterlogging, and enough organic material to sustain the fine, soft foliage that makes this cultivar distinctive.
The ideal soil pH for this plant runs from 5.0 to 6.5, meaning acidic to slightly acidic. Alkaline soils (pH above 7.0) trigger chlorosis, a yellowing of the foliage that signals the plant cannot absorb iron and other micronutrients. If you garden in an area with naturally alkaline or neutral soil, amending before planting is not optional.
Drainage matters more than texture. The plant does tolerate clay if water moves through it, but poorly drained soil (whether clay, loam, or anything else) invites root rot, particularly the fungal disease black root rot. At the same time, Soft Touch Holly is not drought-tough. It needs consistent moisture, especially in the first 1 to 2 years after planting when the root system is still establishing. Think "moist but not wet."
Humus-rich soil keeps moisture accessible while air spaces in the soil stay open. Humus also feeds beneficial microbes that help the plant absorb nutrients and resist disease.
Materials and Amendments You Will Need
- Peat moss or coconut coir (for acidity and water retention)
- Compost or aged bark (for organic matter and drainage)
- Native soil from your site
- Sulfur (optional, only if your soil pH exceeds 6.5)
- A soil test kit or extension service test results
- A spade or shovel
- A watering can or hose
Step-by-Step Soil Preparation and Planting
Step 1: Test Your Soil pH and Drainage
Before you plant, know what you are starting with. A simple soil test kit from a garden center takes 10 minutes and costs under 20 dollars. If your pH reads above 6.5, make a note of how far above. If it reads below 5.0, you may have an acidic situation that works for this holly but could limit your other plantings.
For drainage, dig a hole 12 inches deep and fill it with water. If water drains completely within 2 hours, drainage is adequate. If water sits for 4 or more hours, you will need to amend significantly or choose a different location.
Step 2: Prepare the Planting Hole
Dig a hole about 1.5 times as wide as your nursery-grown Soft Touch Holly's root ball and just as deep. The wider hole gives roots room to spread into amended soil. Do not plant deeper than the root collar; this shrub will rot if buried.
Step 3: Amend the Removed Soil
Take the native soil from the hole and mix it in this ratio: 50 percent native soil, 25 percent compost or aged bark, 25 percent peat moss or coconut coir. If your soil pH tested above 6.5, add sulfur to the amended mix at the rate your soil test recommends, or follow package directions. Mix everything thoroughly in a bucket or on a tarp.
This ratio delivers acidity from the peat moss, drainage from the compost or bark, and humus that holds moisture without drowning roots.
Step 4: Backfill and Water
Place the shrub in the hole, keeping the root collar at soil level. Backfill half the hole with amended soil, water well to settle it, then backfill the rest. Water again until soil is moist 3 to 4 inches down. Do not create a raised mound around the shrub; a level surface sheds water better and reduces rot risk.
Step 5: Apply Mulch (Optional but Recommended)
A 1 to 2 inch layer of bark mulch conserves moisture and keeps soil temperature steady. Keep mulch 2 inches away from the stem to prevent fungal issues. Over time, mulch breaks down and feeds the soil with organic matter.
Soil Amendments After Planting
Once your Soft Touch Holly is established, minimal intervention keeps soil healthy. In early spring, a light annual feeding with an acid-forming, slow-release holly or shrub fertilizer supports growth without burning roots or creating excess salt in the soil.
If new growth yellows and you suspect pH drift upward (common in alkaline regions), refresh the top 2 inches of mulch with fresh bark and monitor. If chlorosis persists, a soil retest after 2 years will show whether pH has risen and by how much.
Avoid over-fertilizing. This shrub grows slowly, roughly 3 to 6 inches per year, and thrives in modest conditions. Heavy feeding pushes soft, tender growth that invites pests and disease.
Common Mistakes to Avoid
- Planting too deep. The root collar (where roots meet stem) must sit at soil level, not buried. Deep planting suffocates roots and invites rot.
- Skipping the pH test. Alkaline soil will stunt this plant and waste your money. Test before amending.
- Amending with sand. Sand does not improve clay drainage for Soft Touch Holly; it can actually compact clay further. Use peat moss and compost instead.
- Using fresh manure. Unaged manure is too hot and can burn roots. Stick to finished compost.
- Watering inconsistently. In the first 1 to 2 years, keep soil consistently moist. Drying out and then saturating it stresses young roots.
- Creating a mulch volcano. Mulch piled up against the stem traps moisture and invites disease. Leave a 2 inch gap around the base.
What to Expect
With the right soil, Soft Touch Japanese Holly fills its space as a dense, mounded shrub. Foliage stays a rich dark green year-round, with no fading or yellowing. The naturally fine texture of the leaves shows best in part shade, though the plant tolerates full sun if summer heat does not exceed your zone's typical range. For guidance on ongoing care, see our complete care guide and tips on proper watering techniques.
If your shrub shows signs of decline (yellowing foliage, brown leaf edges, or stunted growth), soil pH and drainage are the first things to verify. Correcting these foundations often restores vigor within a growing season.
Quick Reference: Soil Checklist
| Element | Target Range | What to Do |
|---|---|---|
| Soil pH | 5.0–6.5 | Test before planting. Add sulfur if above 6.5 per soil test. Retest every 2–3 years in alkaline regions. |
| Drainage | 2 hours or less for 12 in. test hole | Amend with compost and peat moss if water sits longer. Consider raised bed or mounding if drainage is poor. |
| Organic Matter | 25–30% by volume in planting hole | Mix peat moss and compost into native soil. Replenish mulch annually. |
| Planting Depth | Root collar at soil level | Do not bury the base of the shrub. Keep 2 in. gap between stem and mulch. |
| Spacing (for hedging) | 2.5–3 ft apart | Space plants for your intended mature width (3–4 ft) to avoid crowding. |
| First-Year Water | Consistently moist, not soggy | Water 2–3 times weekly if no rain. Reduce frequency in year 2 and beyond. |